Showing posts with label holiday. Show all posts

Sunday, December 12, 2010

Week 7 - Peppermint Mocha Cupcakes

Mocha cake with peppermint buttercream and crushed candy canes.


Nothing says Christmas to me like the cool flavor of peppermint. Mix that with the warmth of mocha and you always have a winning winter flavor1 This cupcake is a simple variation of two recipes I've used before, a basic chocolate cake with coffee added to it and regular buttercream with peppermint added to it. Easy peasy! If you want to use a boxed cake mix, you certainly could, and I'll add instructions for modifying a box mix and frosting at the end.

 Chocolate Mocha Cake
  • 2 cups sugar
  • 1-3/4 cups all-purpose flour
  • 3/4 cup cocoa powder
  • 1-1/2 teaspoons baking powder
  • 1-1/2 teaspoons baking soda
  • 1 teaspoon salt
  • 2 eggs
  • 1 cup milk
  • 1/2 cup vegetable oil
  • 2 teaspoons vanilla extract
  • 1 cup boiling water
  • 3 Tbsp instant coffee granules


1. Heat oven to 350°F. Fill muffin trays with paper liners (or grease and flour).
2. Stir together sugar, flour, cocoa, baking powder, baking soda and salt in large bowl. Add eggs, milk, oil and vanilla; beat on medium speed of mixer 2 minutes. Stir coffee granules into boiling water and stir into batter. Batter will be very thin. Don't worry, it will be fine. You could substitute 1 cup of very hot, very strong coffee for the instant granules and boiling water if you like.
3. Pour the batter into prepared liners, filling the cups 2/3 full. You can fill them a little more if you want big, overflowing cupcakes. I like mine to sit neatly within the liner, so I fill them 2/3 full.  
4. Bake 22 to 25 minutes or until wooden pick inserted in center comes out clean. Set pans on wire racks. Cool in pans until completely cooled. This keeps them from falling completely apart when you pick them up. 
_________________________________________________

Peppermint Buttercream


  • 1 cup butter, softened

  • 3-5 drops peppermint oil or 1/4 tsp extract (or more to taste)


  • 4 cups confectioners' sugar


  • 2 tablespoons milk


  • red food coloring or gel colors


  •  
    Beat butter until light and fluffy, then add in the sugar. Beat until well mixed, adding the milk as needed to thin. Whip in oil or extract - use a light hand with this until you get the flavor you want. When the frosting is light and spreadable, separate about 1/4 of it into a smaller bowl and stir in red coloring.
    Frost your cupcakes after they are completely cool. To achieve the swirly colored frosting, use a pastry bag or ziploc with the corner snipped off to frost. Smear some of the red frosting against one side of the bag, then fill with white. As you squeeze out the frosting, the white will drag a little red with it giving you a pretty swirl.
    Sprinkle with some crushed candy cane and you're good to go!
    ~~~~~~~~~~~~~~~~~~~~~~~~~~~~~~~~~~~~~~~~~~~~~~~
    If you crave this cupcake but are a box-mix kind of baker, you can make simple subtitutions and get similar results. Use a chocolate cake mix, and whatever water is called for, substitute coffee. Make it strong. If you want to use canned frosting, go for it... just add a little peppermint flavor. It's that easy.
    Whether you make them from scratch or use a mix, make these cupcakes. They taste like the holidays, and will make you happy. Promise. :)

    Friday, December 3, 2010

    Week 6 - Coconut Cupcakes

    Vanilla buttermilk cake with vanilla buttercream frosting and coconut.


    I know it's been more than a week since the last cupcake, but for the sake of not confusing people new to this blog, we can call this week 6 1/2.

    When I was growing up, my mom always made a coconut cake for Christmas. I looked forward to it every year because, like so many other beloved recipes, we only had it once a year. Why do we do that? Anyway, as soon as I started making a list of holiday flavors for this month, I thought of tender vanilla cake with sugary frosting and fluffy white coconut. Mom always used a white cake mix and seven minute frosting, but I branched out a little. Please, don't tell Mom.

    I found this cake recipe all over the internet, and copied it (with a minor modification) from Baking Bites. If you're wondering why I chose a buttermilk vanilla cake, it's because... well, I was out of regular milk. Frankly, I'm glad, because this cake recipe is amazing. It's light and fluffy and moist. I was afraid the tang of the buttermilk would overwhelm it, but it's barely noticeable, and the acidity served to make a very tender cake. Don't be afraid of the buttermilk. It's amazing. 

    The modification I made was to add a wee bit of coconut extract instead of the almond called for in the recipe. If you don't have it, you can just use almond or extra vanilla. It's worth it to get the coconut extract, because it gives even the cake itself a subtle hint to coconut that will make your eyes roll back in your head in delight. Unless you hate coconut.


    Vanilla Buttermilk Cupcakes

    • 1 1/3 cups all purpose flour
    • ½ teaspoon baking soda
    • ½ teaspoon baking powder
    • ¼ teaspoon salt
    • 1 cup sugar
    • ¼ cup butter, room temperature
    • 1 large egg
    • 1 teaspoon vanilla
    • ¼ tsp coconut extract (or any other extract - almond and orange are great ideas for this cake)
    • 1 cup buttermilk

    Preheat oven to 350 F. Place liners in a 12 cup muffin tin.
    Nom Nom Nom
    In a medium bowl, stir together flour, baking soda, baking powder and salt.
    In a large bowl, using an electric mixer, beat the butter and sugar together until it looks creamy. Beat in the egg and the vanilla and coconut extracts until mixture is smooth.  Add half of the flour mixture to the butter mixture and stir until almost combined. Add buttermilk and stir, again, until almost combined. Add the rest of the flour and stir until all ingredients are mixed in.
    Divide batter evenly into muffin cups. Bake for 18-20 minutes at 350F. At 18 minutes, check them. If they look like they're probably not done, barely press in the center of a cake and see if it springs back. If it does, take them out. You do not want to over bake these.  Let cupcakes cool for 10 minutes and then remove from the muffin pan. Cool completely before frosting.

    Makes 12 cupcakes


    For the frosting, I made vanilla buttercream. Because I wanted that sugary, crusty type of frosting that dries a little on the outside, I went with a butter/shortening combo rather than all butter. If the thought of shortening in your frosting makes you hurl, you can just use butter (and never, ever buy a cake with buttercream frosting from a bakery again). 

    Vanilla Buttercream Frosting
    • 1/2 cup unsalted butter, at room temperature
    • 1/2 cup vegetable shortening
    • 4-5 cups powdered sugar
    • milk for thinning out frosting (I used buttermilk out of necessity, but use regular milk)
    Cream butter and shortening until light and fluffy. Mix in powdered sugar one cup at a time until frosting is fluffy but firm. Add milk as needed to thin the mixture enough to blend it.  Pipe on top of  the cupcakes using a pastry bag or a Ziploc bag with the corner snipped off.

    To top your cupcakes with coconut, dump coconut in a bowl and fluff it with your fingers so there are no big lumps. Turn your cupcake upside down and gently press it into the coconut, rolling slightly to cover the sides.


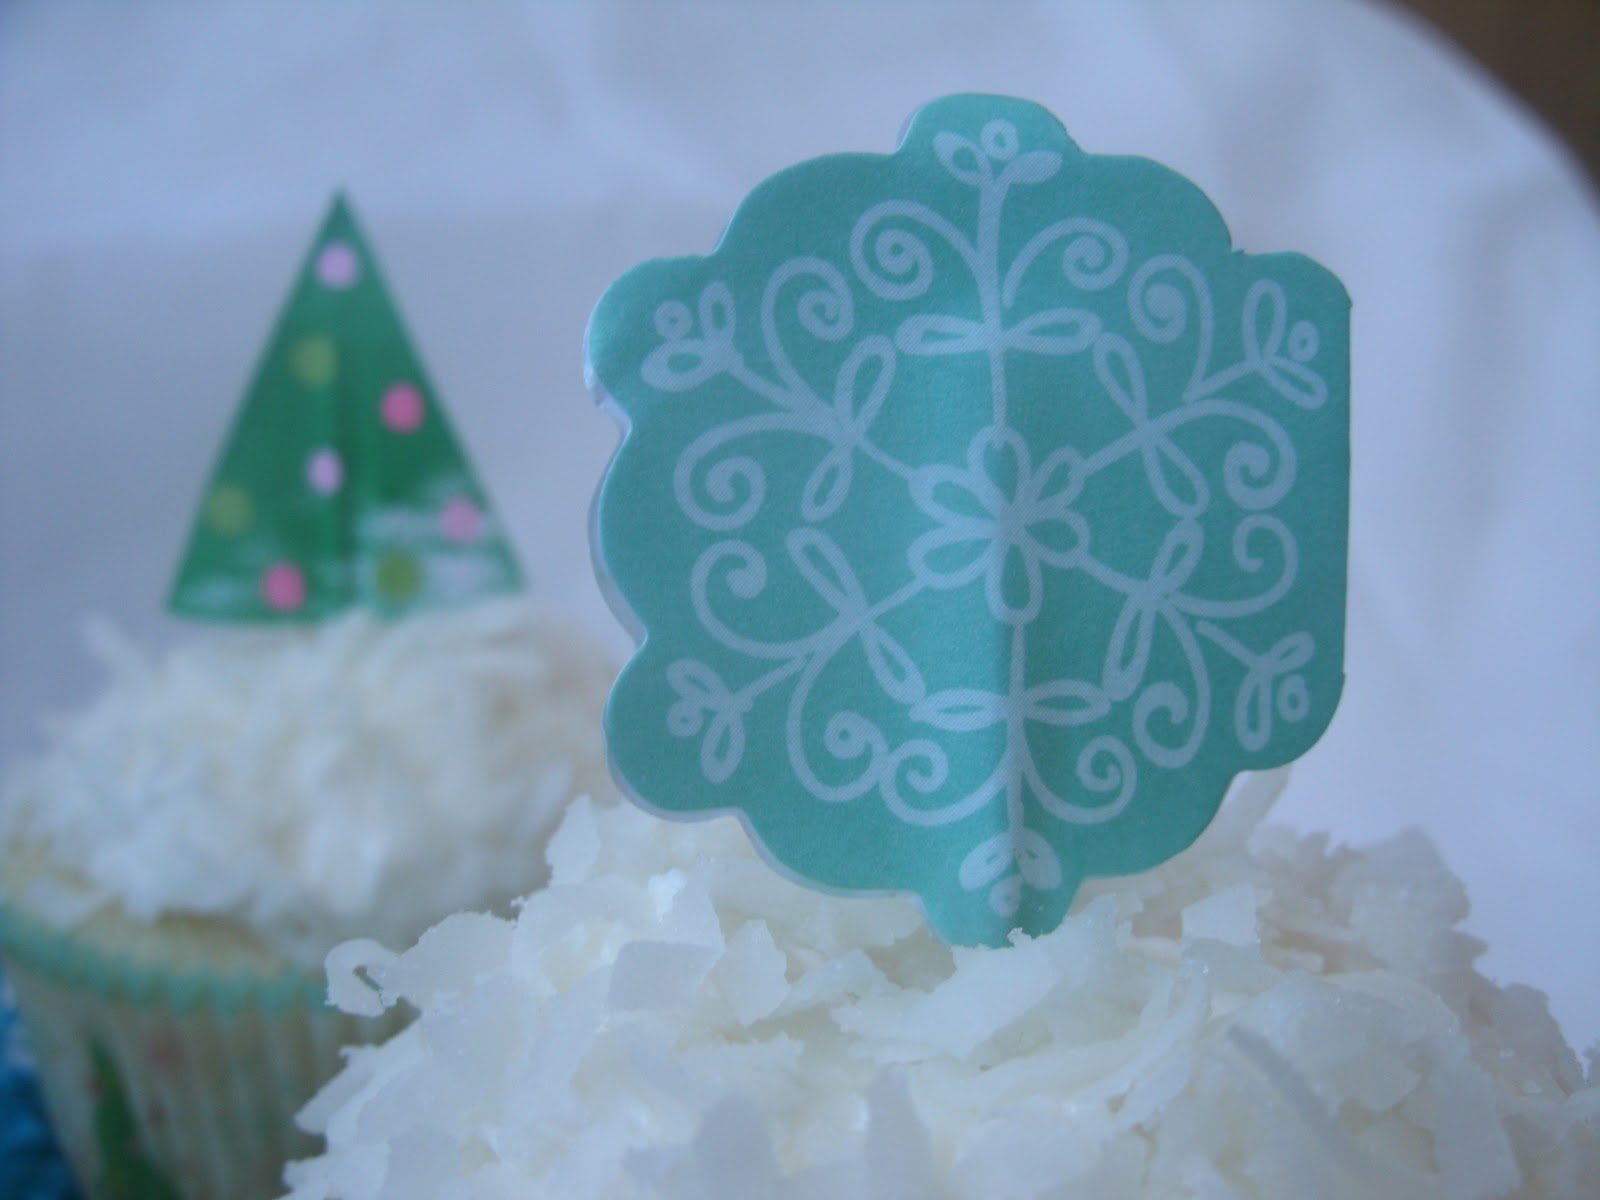
    That's it! There are a million ways you can decorate coconut cupcakes, but they're beautiful on their own. I was planning on making an elaborate decoration for the top, but these adorable cupcake papers with their little toothpick toppers magically appeared at my house, so I went with them. Aren't they cute? They are Wilton, and they came from Walmart, 24 liners and 24 picks for... are you ready? $1.50. If you don't have holiday liners, white would be just as nice. Stick a gumdrop on top and call it a day. It doesn't matter what you top them with, because they're still going to taste like a little bite of heaven.  Enjoy!


    Friday, October 22, 2010

    Week 4 - Double Chocolate Pumpkin Cupcake

    Chocolate pumpkin cake with chocolate chips, topped with cream cheese frosting.


    This is the easiest cake you will ever make. I've shared this recipe more times than I can count. It's delicious and adaptable and cheap and easy, and I love it.

    This cupcake is not a light and fluffy cake. It is dense and moist and substantial. It's also a great way to sneak a veggie into your kids.  I usually make these without frosting and call them muffins, but cream cheese frosting gives it that little extra that takes it from muffin to cupcake. Really, what is the difference between a muffin and a cupcake? It's frosting.

    You need three ingredients. Seriously. I would not kid about this. You can even leave out the chocolate chips and have a two ingredient recipe.  I know, right?  It's also a very versatile recipe. You can use spice cake instead of chocolate and have pumpkin spice cake. You can use yellow cake and really bring out the taste of the pumpkin. You can add nuts instead of chocolate chips, or white chocolate instead of semi-sweet. You can do anything with this recipe. Make it yours.

    Double Chocolate Pumpkin Cupcakes/Muffins

    Ingredients:
    • 1 box cake mix, chocolate (or spice... or yellow... make what you like)
    • 1 can pureed pumpkin (not pie filling)
    • 1 cup mini semi-sweet chocolate chips
    Preheat oven to 350.  Dump the can of pumpkin into a medium bowl. Open the cake mix and take a tablespoon of the mix out, stirring it into your chocolate chips (this keeps them from sinking to the bottom of the cakes). Dump the rest of the mix on top of the pumpkin and stir until well mixed.

    At this point, the batter is THICK. It's like brownie batter, only thicker. If you have trouble stirring, you can add a little water. I usually add about 1/4 cup of water to make it easier to mix.

    Stir in the chocolate chips and fill your cupcake papers. This batter doesn't rise a lot, so I fill mine a little over 3/4 of the way full to get a nice, rounded top.  If you do not use papers, you must grease and flour your tins.  

    Bake the cupcakes for about 20-25 minutes, or until the tops spring back when you gently touch them. The toothpick method doesn't work well with this cake because it is so moist, so just give the top a little nudge and see if it sinks. If it does, pop it back in for a few more minutes.  Cool completely in the tins before frosting.  This makes about 16 cupcakes. You can fill them less and squeeze a few more out of the recipe if you like.


    At this point you can either eat them as they are, or you can frost them. If you're feeling plucky, you can do both. They have pumpkin in them... it's okay if you eat two at once. Or three.  I went with a cream cheese frosting, and it works with the pumpkin. You could also do chocolate frosting for a triple chocolate pumpkin cake!

    Cream Cheese Frosting

    Ingredients:
    • 1 8 oz block cream cheese, cold
    • 4 Tbsp butter, softened
    • 1 tsp vanilla
    • 2-3 cups powdered sugar
    Cut cold cream cheese into chunks and beat with softened butter until well mixed and fluffy. Add vanilla and mix. Slowly add powdered sugar, mixing after each addition just until mixed. Be careful not to over mix the frosting or it will break down and be too soft. When a good spreading/piping consistency is reached, stop mixing. If you want to add color, stir it in carefully by hand just until mixed. I used Wilton gel colors blue and rose to make this purple.

    I dumped the entire bowl of frosting in a large ziploc bag and cut the corner off to pipe the frosting on these cupcakes. Stick on a spider ring and call it a Halloween cupcake. Easy peasy.


    Make these, then eat them. Look at the rich, chocolate goodness. It's calling you.


    There are more Halloween cupcakes coming this week, including Candy Corn. I'm making a couple hundred cupcakes for a Halloween party next weekend, so cupcakes will be taking over around here. Keep checking in for more decorating ideas, including how to make white chocolate spiderwebs!